I am a UK-based freelance iOS, iPadOS, macOS, watchOS, and tvOS Developer and consultant with a wealth of experience with both global brands and small businesses.
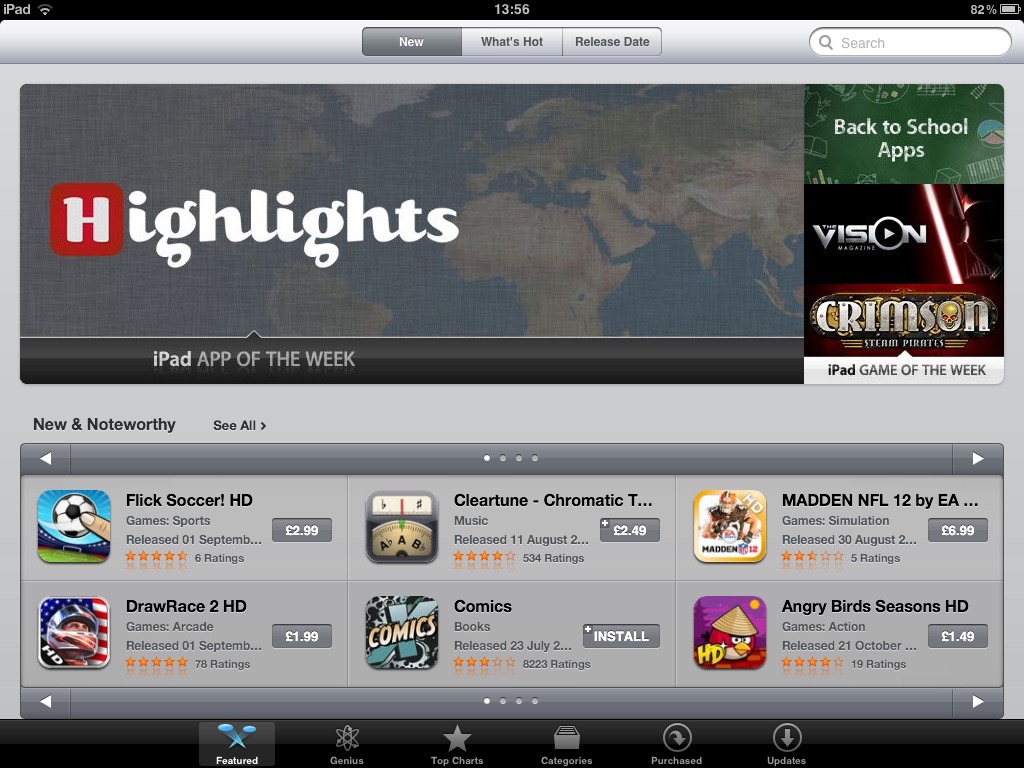
I have published a number of my own apps including WallaBee (named the 'Best European Gaming Startup of 2012' and which I sold to Munzee in 2016) and Highlights which was featured as an 'iPad App of the Week' by Apple.
My recent client work has included UKTV Play for Apple TV (which reached #1 in less than 24 hours), Channel 4 Horse Tracker (which also reached #1 in the App Store), Calm Radio for Apple TV, Natural Cycles for Apple Watch, Foodim, DrinkCoach+, Brapp, The Great British Bee Count, Glenfiddich, Million Pound Drop, Nectar Card, and Expense Magic. I also recently worked as a consultant for the development of Hawkker.
As well as iPhone, iPad, Mac, Apple Watch, and Apple TV development (all coded in Swift), I also work as a PHP developer specialising in API development for iOS apps.
I maintain a weblog about my work and interests and you can find out more about me and my work on this site. Please feel free to contact me for more information about me or my services.