
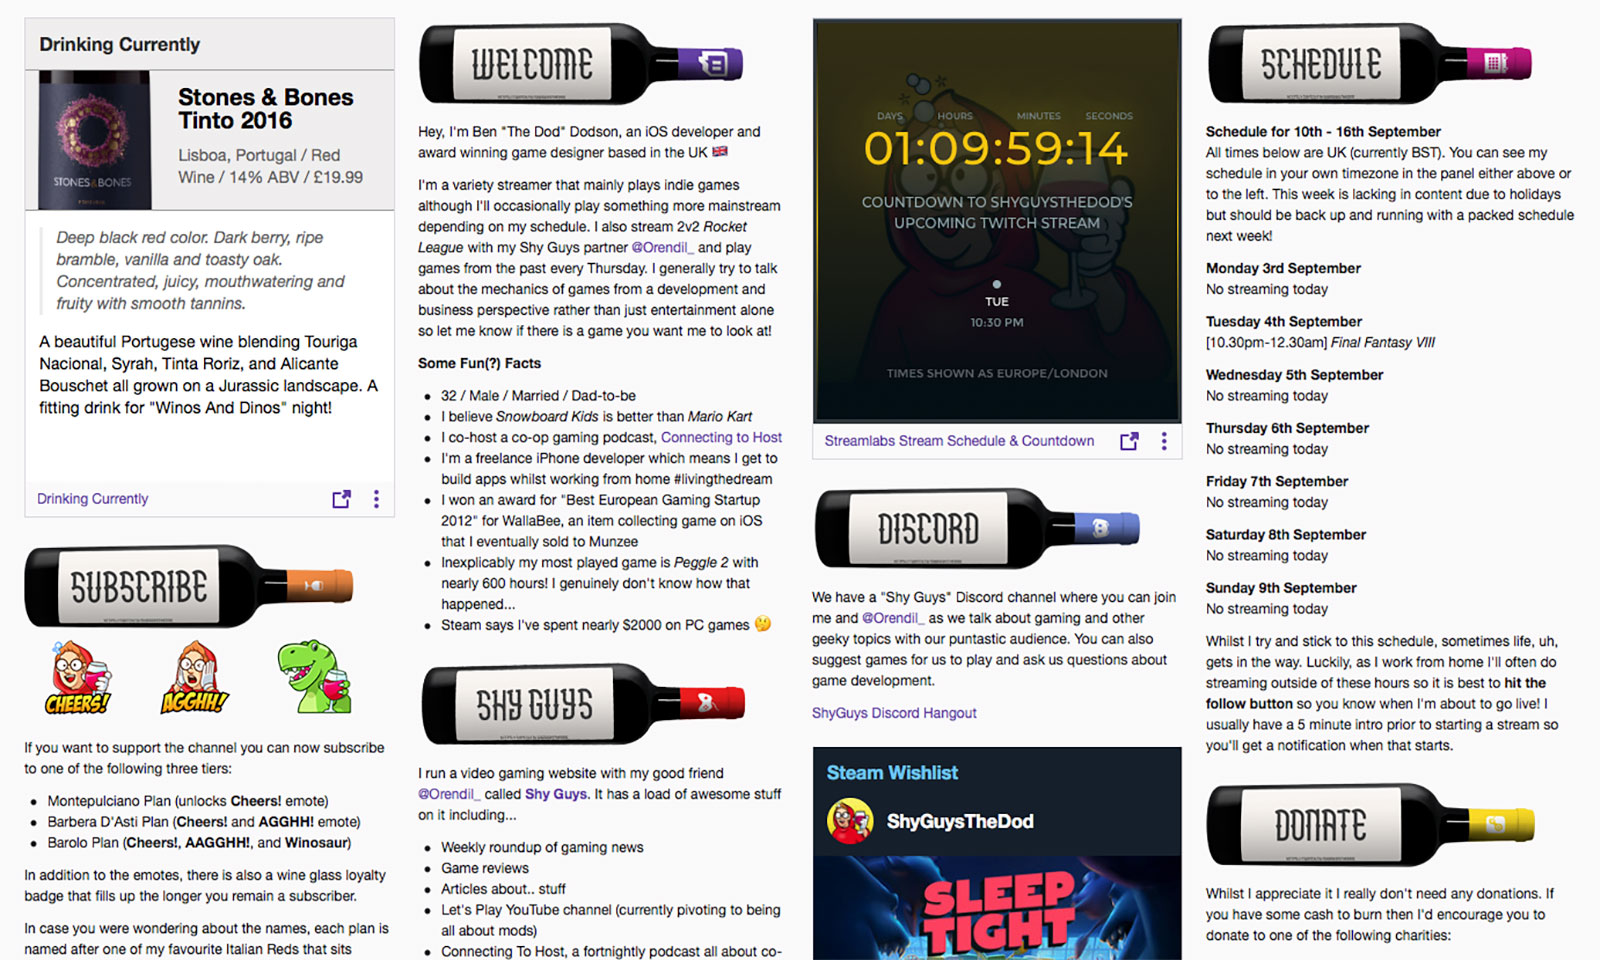
A couple of months ago I started streaming some of the many video games I play on Twitch. For those that aren’t aware, your Twitch profile can be customised with a number of text or image based panels along with a relatively new “extension” panel which is essentially an iframe. I was spending some time adding the type of wine I was drinking on each stream in a text-based panel and decided it would be more efficient to build a simple panel extension to display this information in a more customised format.
Thus the “Currently Drinking” extension was born which allows users to add a name, type, location, price, ABV%, description, notes, and an image about the drink they are currently enjoying. I also added the ability to provide a URL for a website such as vivino.com, distiller.com, or untappd.com which is then screen-scraped to provide the information automatically.
This post isn’t going to be a complete tutorial on how to build an extension as I didn’t expect it would be that complex and so didn’t write down the instructions on how to get everything working as I was going along. Suffice to say, the process was a lot more difficult than I initially anticipated! That said, if you have any specific queries, do feel free to get in touch and I’ll try and help as best I can.
To start with, a panel extension is basically a website comprising of HTML, CSS, and JavaScript. This is all loaded into an iframe with some restrictions and you can choose to make use of the Extension Backend Service (EBS) which is essentially a NodeJS instance that sends notifications via PubSub. It is recommended that you download the developer rig that Twitch provides which allows you to run and test your extension on a localhost such that when you load your profile page from Twitch.tv you can see your extension loaded in. The setup process for the developer rig is fairly arduous, especially on macOS, and I found myself having to run a fair few more npm install commands than I would like that weren’t documented. I also found that there were a number of differences between the locally hosted version of the extension compared to when it was run on a server, most noticably in that the local version allows the external loading of assets which the hosted version does not1.
In terms of coding, as you are essentially just writing HTML there isn’t much to be aware of when writing an extension. A panel is always 300px high and you can set a global height for the panel within the Twitch settings2 and make use of vertical scrolling if you need to show more content. To configure your extension, you supply another HTML file which is loaded whenever the configure button is pressed but again this is just loaded within an iframe.
As I haven’t really used JavaScript since 2009, I decided to forego the EBS in favour of a PHP backend that I could control. Thankfully this is fairly easy as you can get a unique identifier for the channel that is being viewed via the window.Twitch.ext.onAuthorized(auth) callback. With this, I was able to use a simple AJAX POST request to send the data in my config page to my PHP backend along with the ID of the currently authorized channel. When a panel is loaded, an AJAX GET request with the same channel ID is used to load a JSON response of the data stored in my database. Using this PHP system was also more useful as I was able to add my screen-scraping library to rip out details of the drinks I was enjoying from Vivino, Distiller, and Untappd. Whilst my initial version provided a link back to these pages, I found that each URL needed to be whitelisted on the Twitch extension otherwise they wouldn’t work. As I would have liked to let people link to other websites I ultimately decided to drop the ability as it wouldn’t be feasible to maintain a whitelist that would please everyone.
Once the basic panel was built, I was able to test it on Twitch’s own servers by performing an asset upload. With this, you basically zip up your directory containing your HTML, JS, and CSS code and upload it to their servers at which point it will let you use that code as your panel on your live Twitch page. Crucially, this is only seen by you and accounts you whitelist. As I’d set up the developer rig on my laptop and didn’t want to get it all set up again on my Mac Pro, I ended up tweaking some of my extensions by editing the files locally and just uploading them directly in this way to test them - it took slightly longer but that way I knew what I was looking at is how the extension would look to others.
With the extension looking good, it was then time to submit it to Twitch for approval. I’ve been through this sort of process with Apple before hundreds of times so I’m no stranger to a review process but this one was slightly more arduous. To start with, there are a lot of restrictions on what you can and cannot do such as not being allowed to have any JavaScript console logging, you aren’t allowed to load into the DOM directly from AJAX (i.e. loading HTML from a remote location), you can’t obfuscate your code nor use a double-click as an input. Your code is inspected by Twitch as part of the review and so everything has to be provided locally except for the Twitch Extension Helper which must be loaded from a specific location. At first I found the idea of an actual code review to be slightly strange as even Apple doesn’t do this3 but it makes sense given the nature of JavaScript embedded in an iframe.
After a couple of days, the extension was approved and I was then given the option to release it publicly at which point it shows up in the extension directory with screenshots you provide. As this first extension was relatively easy, I decided to produce a number of “wishlist” panel extensions which would initially be for Steam, Humble, and GOG. These worked in much the same way using a PHP backend to send the URL of the users wishlist; my server would then screen-scrape these pages and store the games in my database where the panel extension could request them in order to load the list. As each extension was for a specific store, I used the URL whitelisting feature to whitelist each domain so you could click on the game to go to the relevant store page.
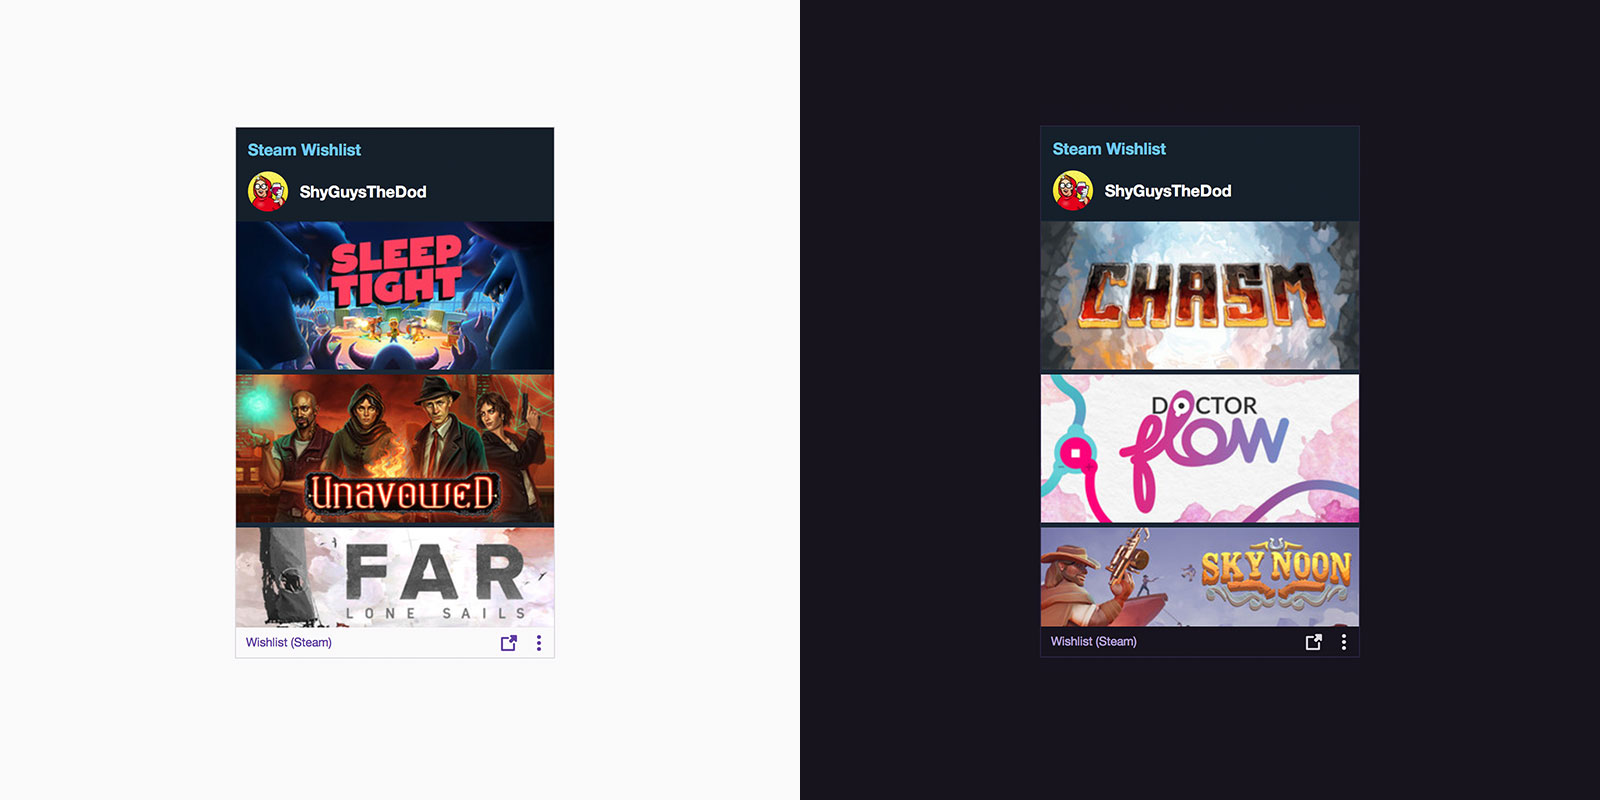
Whilst the extensions were relatively quick and easy to write, the approval process took several weeks as a bug in the process meant they got stuck in limbo for violating one of the rules, namely that “extensions may not transact or encourage the transacting of monetary exchange in relation to any non-Twitch/Amazon commerce instruments”. In essence, an extension could not link to a Steam store page as it is a competitor to Twitch/Amazon. I find this to be slightly silly, especially as a user can happily just write up a list of links in a text-based panel without issue, but those are the rules and the team at Twitch Dev were incredibly helpful at resolving the issue reaching out to me via Twitter DM. I was able to re-submit the three extensions provided that they didn’t link to the external storefronts; this seemed like a reasonable compromise and so I re-submitted and they were approved within several minutes.
The only other thing to mention is the process of updating an extension. I foolishly didn’t test my original “Currently Drinking” extension with the Twitch “dark theme”4 and received a complaint from a user. Updating an extension is thankfully very easy requiring only that you bump up the version number and upload a new zip file. This goes through the review process again but was approved in under an hour for me. As far as I can tell, there is no forward facing “What’s New” notes or a way for a user to see an extension has been updated; it just happens automatically. It would be nicer if there were a way for users to see when an update has occurred and what has changed but I guess that will be something for the future.
Overall the process of creating a Twitch extension was slightly longer than I would have liked but now that everything is set up and I’ve been through it a few times I think it’ll be very easy to add new ones in future. I’m tempted to try my hand at a video overlay extension but haven’t yet found a compelling enough reason to do so. For now though it has been a pleasant diversion from building iOS apps and so far the extensions have been installed by far more users than I expected.
If you’d like to give them a try, you can find some direct links on my Twitch Extensions page. You can also follow me on Twitch if you’d like to see some of my extensions in action!
-
To be fair, the guidelines do state that you should “include all JavaScript and CSS files in the extension’s uploaded assets” but this is not enforced by the developer rig so I spent a lot of time wondering why jQuery worked locally but not on the Twitch site. ↩︎
-
The default is 300px but you can choose anything from 300px to 500px. Unfortunately it isn’t possible for an extension to say at runtime how high it wants to be - it is something that is set globally in advance. ↩︎
-
Aside from the automated checks when compiling in Xcode to ensure you aren’t using private frameworks. ↩︎
-
It’s a bit of a pain to check if you are in dark mode or not. You need to run the
window.Twitch.ext.onContext(context)callback and then check that for thecontext.theme. I do this and then append or remove a.darkclass to my\<body\>to make it a bit simpler to work with. ↩︎